Multi-tenant custom connector
In previous part, I've described how to create a multi-tenant custom connector for the Graph service communications API.
I've created also the action which provides the health report of all subscribed services for a tenant.
GET /admin/serviceAnnouncement/healthOverviews
Create trigger
Let's keep focused on the GET /admin/serviceAnnouncement/healthOverviews endpoint. What if we want to receive a notification only if the status of some service is changed?
It should be possible because we can create a trigger that will focus on a particular event that will happen.
We will create a polling trigger which is an implementation that regularly calls your REST API service and checks for new data. After the platform has determined that new data is available, the trigger fires and passes the new collected data to a cloud flow
A polling trigger starts by retrieving the data and setting a state. Then, it will periodically check for updates by requesting all data since the last state update. After the new data has been retrieved, the new state is set and the process will continue.
The polling trigger only requires an API to have a data retrieval method that can filter the data by using a query string parameter. A way to extract the next value of the parameter from the returned data must also exist. The implementation can be provided by either a dedicated or an existing action method.
Step 1
Edit the custom connector ServiceAnnouncement created in the previous part.
Step 2
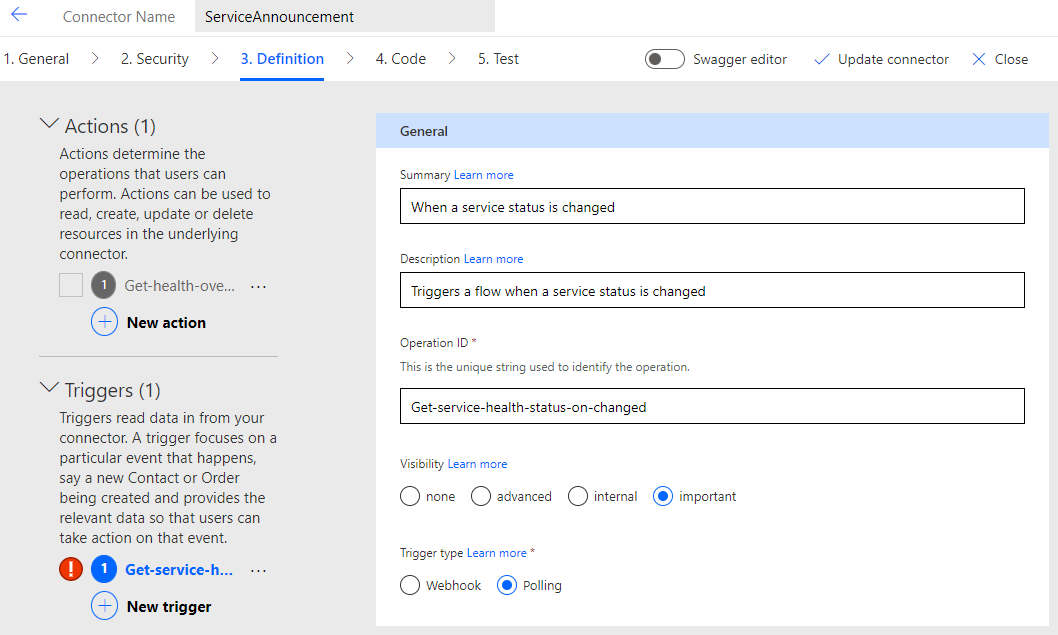
Click on the Definition tab and create a new trigger for service status changes.
Step 3
Click on Import from sample and import
- Verb:
GET - URL:
https://graph.microsoft/v1.0/admin/serviceAnnouncement/healthOverviews?$filter=xxx
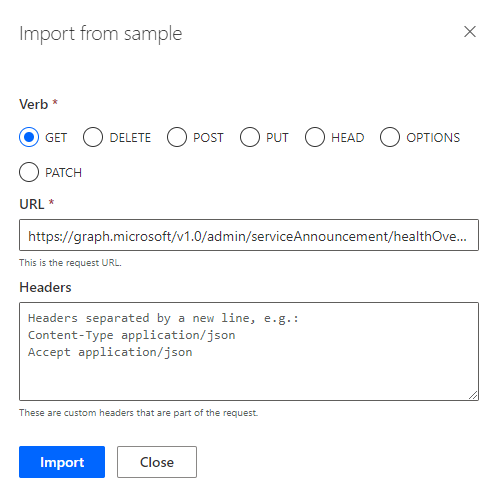
I've specified the $filter query parameter in the URL. It will allow us to specify a trigger configuration later.
Step 4
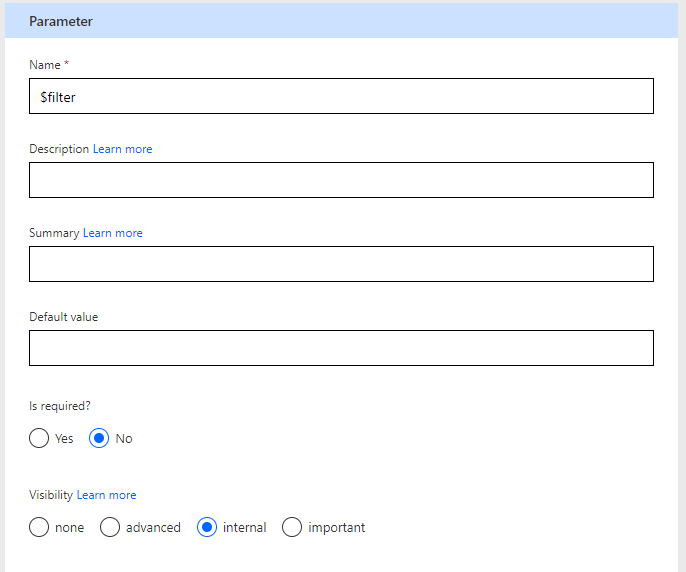
Edit the $filter query parameter
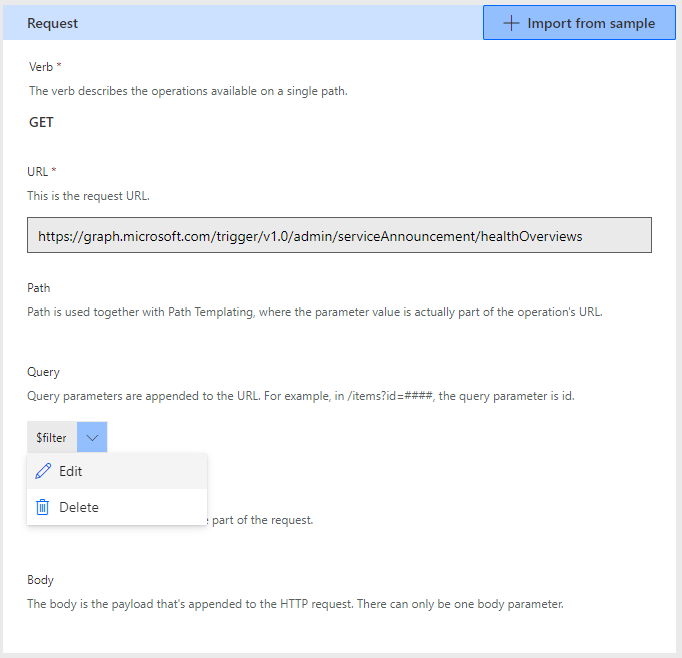
and set the visibility to internal, which will prevent users from making changes to this parameter, which is used only internally by the connector.
Step 5
Under the Response click on Add default response
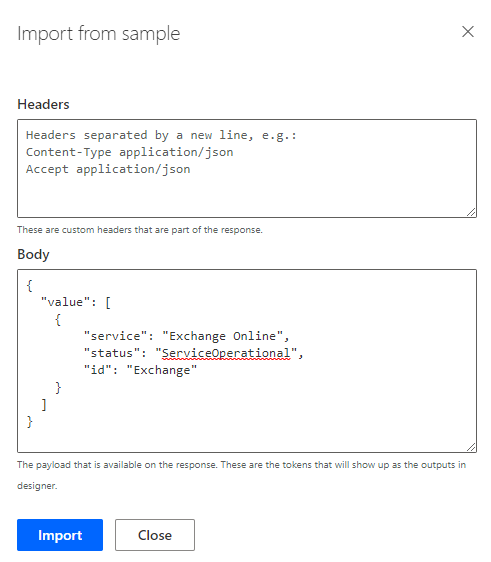
Define the data that is returned by the service. The payload includes the status property to be used as the value for $filter in the consecutive requests.
{
  "value": [
    {
        "service": "Exchange Online",
        "status": "ServiceOperational",
        "id": "Exchange"
    }
  ]
}
Step 6
Complete the Trigger configuration. Select the query parameter, define an expression that returns a value, and then select a collection that contains the trigger data.
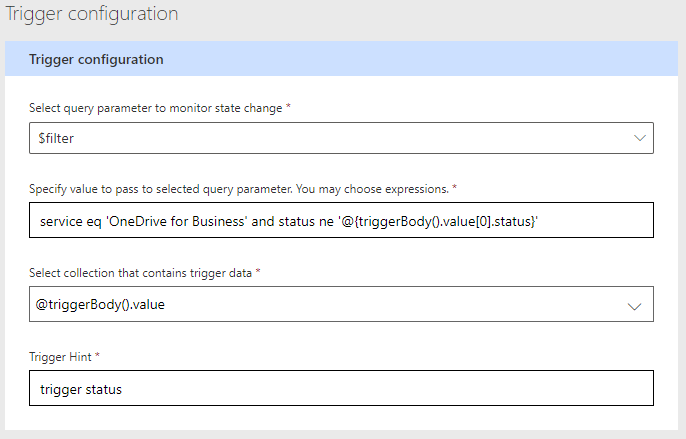
$filteris selected as the query parameterThe
service eq 'OneDrive for Business' and status ne '@{triggerBody().value[0].status}'expression ensures that we focus only on one specific service and its status. You can try to create a better expression, for examplestatus eq 'serviceDegradation' and service ne '@{triggerBody().value[0].service}'The
@triggerBody().valueexpression defines the data collection.
Step 7
Click on Update connector to save changes.
Create a flow
Let's create a new flow that will use the Get-service-health-status-on-changed trigger.
Step 1
Create a new automated cloud flow

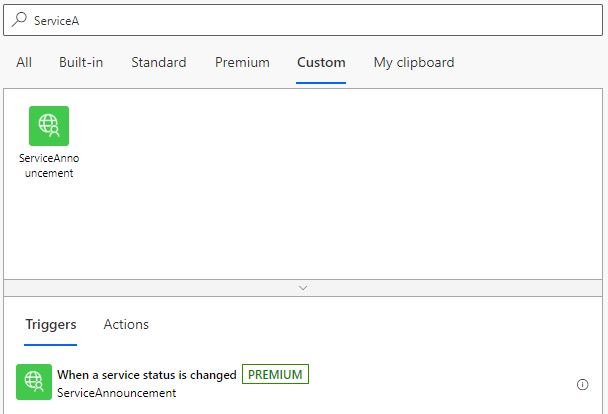
Step 2
Select the Custom tab and add the When a service status is changed trigger.
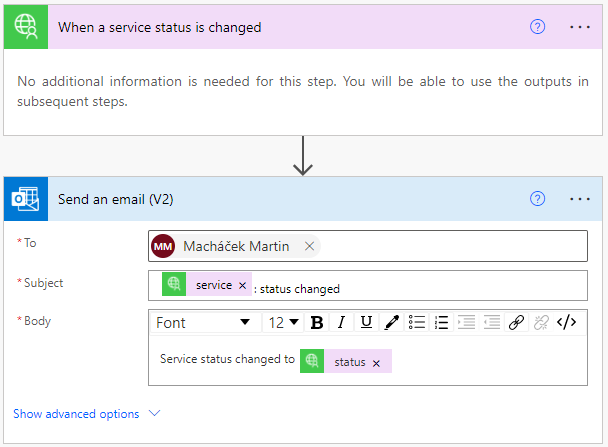
Step 3
Add Send an email (V2) to send the output of the previous action to your email.
The flow should look like this
Step 4
Save the flow. That's it.
Check result
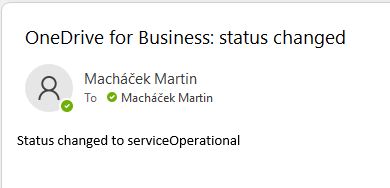
It can take several days or weeks until the status of the OneDrive for Business service is changed, but one day you will receive an email with the notification.
Conclusion
Creating a new trigger for a custom connector is straightforward, the hardest part is the configuration of the trigger where you need to construct an expression.